Smart telescopes and imagingBuying guide
Astrophotography Gear for Beginners: Trackers, Cameras and Mounts
What to buy first for night sky photos: a tripod and remote, a star tracker such as the Star Adventurer or SkyGuider Pro, or a smart telescope. Specs sourced.
We earn from qualifying purchases through links on this page. How we make money.
On this page
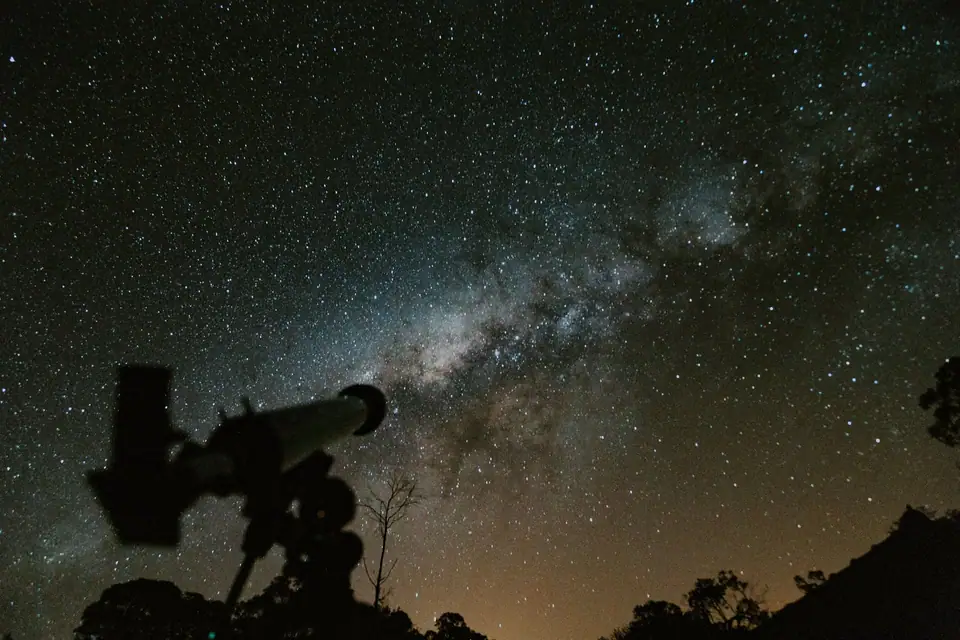
Start with what you own: a camera, a sturdy tripod and a remote release will record the Milky Way in exposures of a few seconds. For longer exposures, add a star tracker (the Star Adventurer 2i and SkyGuider Pro each carry 11 lb), or skip the camera and buy a smart telescope that does the tracking and stacking itself.
Sun safety
Never point a telescope, binoculars, a finder scope or a camera at the Sun without a special-purpose solar filter secured over the front of the optics. NASA says viewing the Sun through unfiltered optics “will instantly cause severe eye injury”, and that eclipse glasses must never be used with a telescope, binoculars or a camera. The American Astronomical Society adds that a finder scope must be capped, removed or filtered too, and that solar filters made to thread into an eyepiece are dangerous.
Why do stars trail, and how long can you expose?
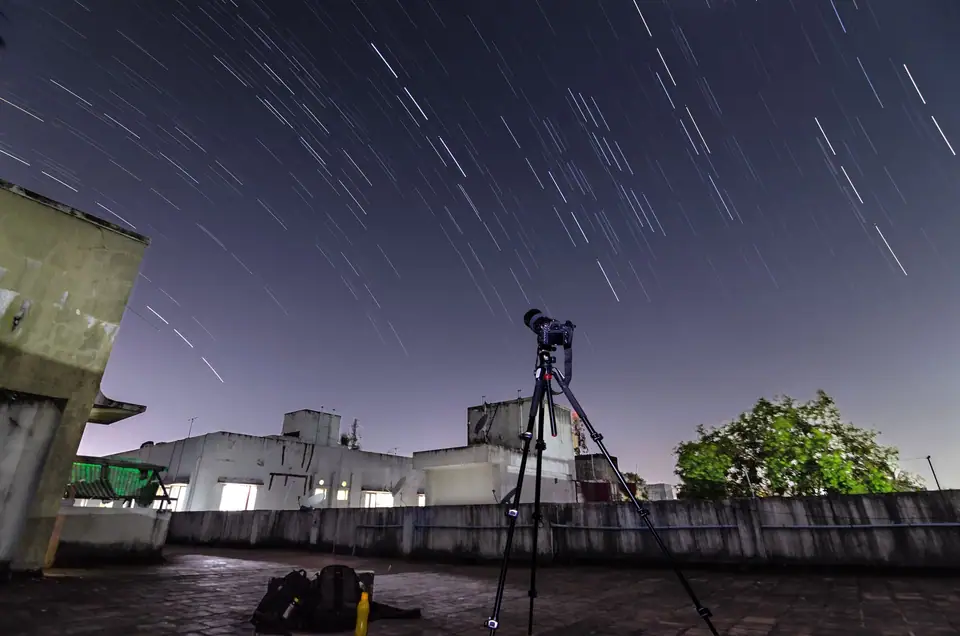
The sky appears to turn as Earth rotates. A camera fixed on a tripod records that motion as streaks once the shutter stays open long enough.
The common estimate is the 500 rule. Celestron’s knowledge base writes it as 500 divided by the crop factor times the focal length. Its worked example, a 1.6 crop camera with a 50 mm lens, gives about 6.25 seconds. The Planetary Society’s beginner guide gives the same rule and suggests 10 to 30 second exposures at f/2 to f/2.8 with a wide lens for the Milky Way.
A longer lens shortens the limit quickly. At 200 mm on that same camera, the rule allows under 2 seconds. That arithmetic is the whole case for a tracking mount.
Three ways to start
| Route | What you buy | What tracks the sky | What you do yourself |
|---|---|---|---|
| Camera on a fixed tripod | Tripod, remote release or intervalometer | Nothing: exposures stay under the 500 rule limit | Focus, frame, stack on a computer |
| Camera on a star tracker | Tracker, tripod, counterweight kit | The tracker, after polar alignment | Polar align, focus, frame, process |
| Smart telescope | One unit with camera and mount built in | The telescope, run from an app | Choose a target in the app |
1. A camera on a fixed tripod
This costs the least if you already have a camera. The Planetary Society lists a camera with a manual mode, a wide-angle lens at f/2.8 or faster, a sturdy tripod with a ball head, and a cable release.
2. A camera on a star tracker
A star tracker is a small motorized equatorial head that sits between the tripod and the camera. Once its axis is aimed at the celestial pole, it turns the camera with the sky. Celestron’s knowledge base says a tracker lets you “extend the exposure as long as it is practical without encountering star trailing”.
Maker figures for three trackers:
| Spec | Sky-Watcher Star Adventurer 2i | Sky-Watcher Star Adventurer GTi | iOptron SkyGuider Pro |
|---|---|---|---|
| Payload | 11 lb (5 kg) | 11 lb | 11 lb (5 kg), balanced |
| Mount weight | 3.63 lb with declination bracket | 5.7 lb | 3.2 lb with base and battery |
| Power | AA batteries or 5 V mini-USB | 12 V DC or 8 AA batteries | Built-in 2,000 mAh rechargeable battery |
| Battery run time | Up to 24 hours on AA cells | Not stated by maker | Not stated by maker |
| GoTo | No | Yes | No |
| Polar scope | Built in | Built in, illuminated | Illuminated, about 6 degree field |
| Control | Wi-Fi, Star Adventurer Console app | Wi-Fi, SynScan Pro app | Switches on the mount |
The Star Adventurer 2i Pro Pack includes a ball head adapter, a declination bracket, a latitude base and a counterweight kit; Sky-Watcher USA notes that the camera and tripod are not included. It offers sidereal, solar and lunar tracking, and has a SNAP port that fires the camera shutter on a program.
The Star Adventurer GTi adds GoTo, so it can slew to a target chosen in the SynScan Pro app. It is the heaviest of the three at 5.7 lb and comes with a 5 lb counterweight.
iOptron’s SkyGuider Pro full package contains the mount head, an alt-azimuth base, a polar scope, a declination bracket, a 1.35 kg counterweight and its shaft. It has a port for an autoguider.
An 11 lb payload is a ceiling for everything riding on the mount. A camera with a wide or short telephoto lens sits well inside it. A small refractor with a camera attached gets closer, which is where the counterweight earns its place. The refractor vs reflector guide explains why short refractors are the usual first imaging telescope.
Star trackers and astronomy cameras on eBay
Shop the range
Browse current star trackers and astronomy cameras on eBay.
Shop star trackers and astronomy camerasOpens eBay in a new tab. Check condition, seller feedback and returns on the listing.
Current eBay listings for star trackers and astronomy cameras, shown by eBay
3. A smart telescope
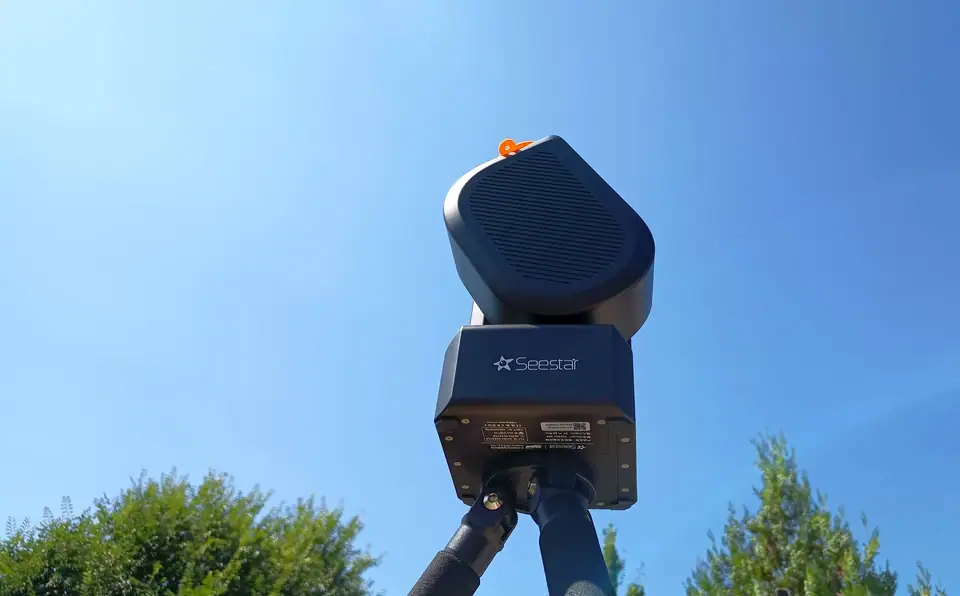
A smart telescope puts the lens, camera, mount and stacking software in one body. ZWO’s Seestar S50, for example, weighs 2.5 kg and combines a telescope, focuser, camera, alt-azimuth mount, dew heater and filter wheel.
BBC Sky at Night Magazine’s guide to the category says these instruments make observing and photographing the night sky close to a one-button task, and that small apertures and short focal lengths hold them back on planets. You give up lens choice and most manual control. The smart telescope comparison has the specs for six models.
Smart telescopes on eBay
Shop the range
Browse current smart telescopes on eBay.
Shop smart telescopesOpens eBay in a new tab. Check condition, seller feedback and returns on the listing.
Current eBay listings for smart telescopes, shown by eBay
Can you photograph through a GoTo telescope instead?
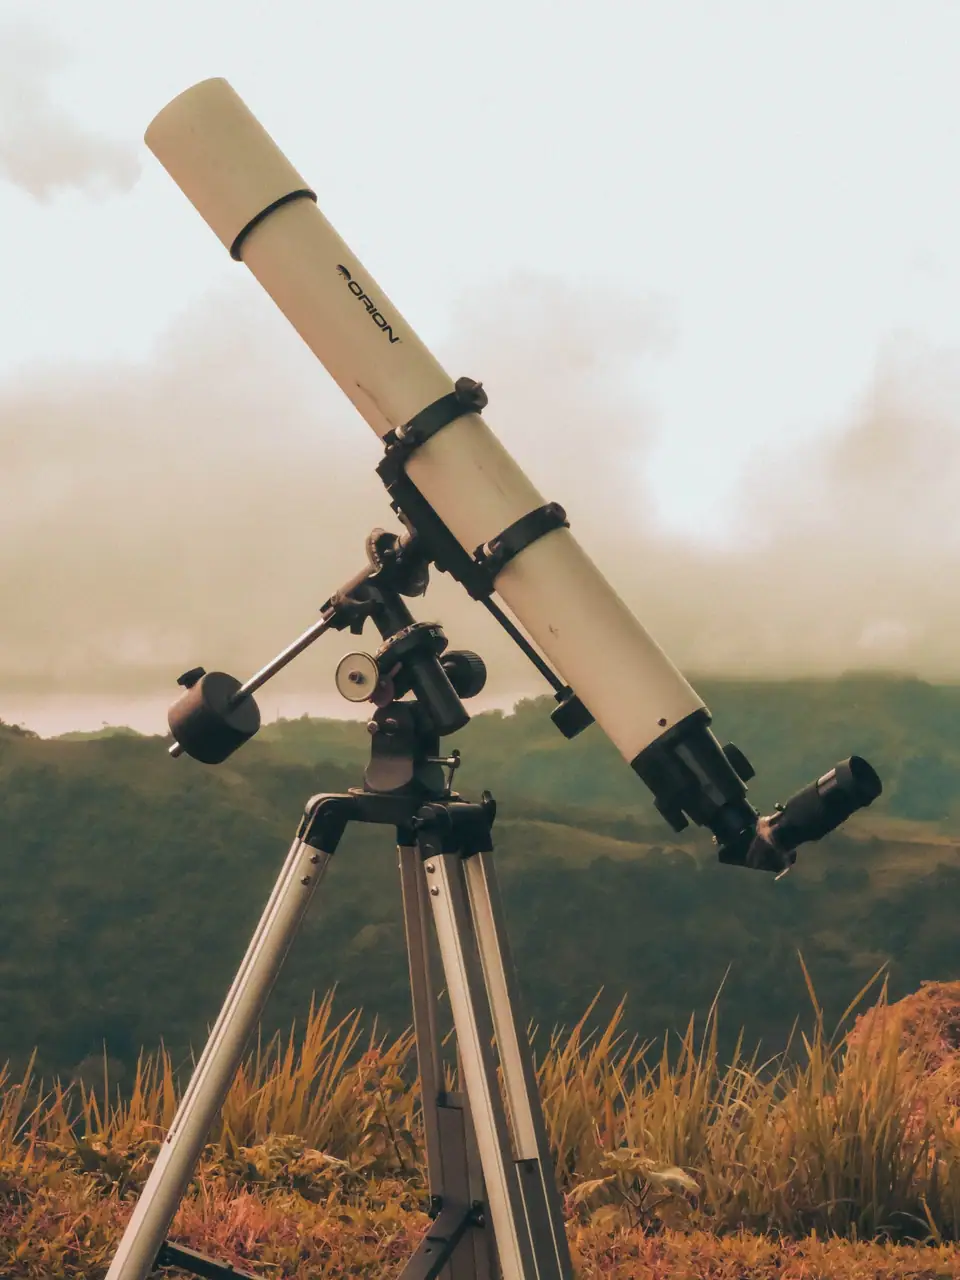
An alt-azimuth GoTo telescope follows a target, but it does so by moving on two axes, so the frame slowly rotates around the target during a long exposure. An equatorial mount avoids that by turning around one axis aimed at the pole.
Some alt-azimuth telescopes can be tilted to work that way. Celestron lists a built-in wedge and an EQ North and South alignment on the NexStar 4SE, and the NexStar SE comparison shows that the 6SE and 8SE share the alignment mode. The Moon and planets are bright enough for very short exposures, so rotation matters far less for them.
Tripod, intervalometer and dew heater basics
Tripod. BBC Sky at Night Magazine’s time-lapse tutorial says the whole setup “should be as sturdy as possible”, because any movement during the shoot spoils the result. With a tracker, the tripod carries the tracker, the counterweight and the camera together. Sky-Watcher lists the Star Adventurer GTi as compatible with a 3/8 inch tripod thread, so check that your tripod has one before ordering.
Intervalometer. This is a remote that fires a programmed series of exposures. The BBC tutorial has you set it to take pictures continuously at a chosen interval. The Planetary Society adds two reasons for any wired release: exposures longer than 30 seconds, and no shake from pressing the shutter button. Many cameras have an interval timer built in, so check the menu before buying one.
Dew heater. Celestron’s knowledge base says condensation can form on a front lens or corrector plate “in a matter of minutes” in humid air. A dew shield slows the heat loss that causes it. A heater strip or ring adds gentle warmth to the glass, and it needs its own power, so count it when you size a battery. The Seestar S50 has a dew heater built in.
A sensible order to buy in
- Tripod and remote release, used with the camera and widest lens you have.
- A star tracker, once the 500 rule limit is what holds your photos back.
- A longer lens or a small refractor, staying inside the tracker’s 11 lb payload.
- Dew control, if your nights are humid.
Or step off that ladder at the start and choose a smart telescope. For the visual side of the hobby, from binoculars to a first telescope, see the stargazing gear overview.
Frequently asked questions
What do I need to start astrophotography?
The Planetary Society's beginner guide lists a camera with manual mode, a fast wide-angle lens, a sturdy tripod and a cable release. A star tracker or a smart telescope is the next step, once you want exposures longer than a fixed tripod allows.
What does a star tracker do?
It turns the camera at the same rate the sky appears to move, so stars stay as points. Celestron's knowledge base says that with a camera tracker the 500 rule no longer applies and exposures can run as long as is practical.
How long can I expose without a tracker?
The 500 rule gives an estimate: 500 divided by the crop factor times the focal length in millimeters. Celestron's example is a 1.6 crop camera with a 50 mm lens, which comes to about 6.25 seconds before stars trail.
How much weight can a star tracker carry?
Sky-Watcher lists 11 lb for the Star Adventurer 2i and the Star Adventurer GTi, and iOptron lists 11 lb, balanced, for the SkyGuider Pro. That figure covers everything on the mount: camera, lens, ball head and brackets.
Is a smart telescope or a star tracker better for a beginner?
They suit different people. A smart telescope has the camera, mount and stacking built in and is run from an app, while a star tracker carries a camera and lenses you already own and leaves focusing, framing and processing to you.
Sources
- Exposure Time in Celestial PhotographyCelestron
- Night sky photography for beginnersThe Planetary Society
- How to shoot a time-lapse video of the starsBBC Sky at Night Magazine
- Star Adventurer 2i Pro Pack (specifications)Sky-Watcher USA
- Star Adventurer GTi (specifications)Sky-Watcher
- SkyGuider Pro Camera Mount Full Package, #3550 (specifications)iOptron
- Seestar S50 All-in-One Smart Telescope (specifications)ZWO (Seestar)
- Best smart telescopes (September 14, 2026)BBC Sky at Night Magazine
- NexStar 4SE Computerized Telescope (specifications)Celestron
- Telescope Dew Shields: Your Key to Crystal-Clear ViewsCelestron
- Eclipse Viewing SafetyNASA
- Solar Filters for Optics: Telescopes, Binoculars & CamerasAmerican Astronomical Society
Filed under Smart telescopes and imagingStart here: Stargazing Gear for Beginners: What to Buy First, and in What Order
Next rungs on the ladder
Start here
Stargazing Gear for Beginners: What to Buy First, and in What Order
A beginner's path through stargazing gear: eyes and a chart, binoculars, a first telescope, then upgrades and smart telescopes, with sourced specs.
Comparison
Smart Telescopes Compared: Seestar, Dwarf 3, Vespera, Odyssey, Origin
Seestar S50 and S30, Dwarf 3, Vespera II, Unistellar Odyssey and Celestron Origin compared by aperture, sensor, field of view, weight and battery, with sources.
Roundup
Telescopes for Beginners: What to Buy First, by Budget and Sky
How to choose a first telescope by budget band and by sky: aperture explained, what each size shows according to NASA, and maker weights to check.
Buying guide
Binoculars for Stargazing: 10x50, 15x70 and 25x70 Explained
What 10x50 means, how exit pupil works, which sizes you can hold by hand, and Celestron SkyMaster 12x60, 15x70, 25x70 and 20x80 specs compared.